How to Create a Julia Package from Scratch
Master the tools and techniques to create a Julia package.
This post was written by Steven Whitaker.
The Julia programming language is a high-level language that is known, at least in part, for its excellent package manager and outstanding composability. (See another blog post that illustrates this composability.)
Julia makes it super easy for anybody to create their own package. Julia’s package manager enables easy development and testing of packages. The ease of package development encourages developers to split reusable chunks of code into individual packages, further enhancing Julia’s composability.
In this post, we will learn what comprises a Julia package. We will also discuss tools that automate the creation of packages. Finally, we will talk about the basics of package development and walk through how to publish (register) a package for others to use.
This post assumes you are comfortable navigating the Julia REPL. If you need a refresher, check out our post on the Julia REPL.
Components of a Package
Packages are easy enough to use:
just install them with add PkgName in the package prompt
and then run using PkgName in the julia prompt.
But what actually goes into a package?
Packages must follow a specific directory structure and include certain information to be recognized as a package by Julia.
Suppose we are creating a package called PracticePackage.jl.
First, we create a directory called PracticePackage.
This directory is the package root.
Within the root directory we need a file called Project.toml
and another directory called src.
The Project.toml requires the following information:
name = "PracticePackage"
uuid = "11111111-2222-3333-aaaa-bbbbbbbbbbbb"
authors = ["Your Name <youremail@email.com>"]
version = "0.1.0"
uuidstands for universally unique identifier, and can be generated in Julia withusing UUIDs; uuid4(). The purpose of a UUID is to allow different packages of the same name to coexist.versionshould be set to whatever version is appropriate for your package, typically"0.1.0"or"1.0.0"for an initial release. The versioning of Julia packages follows SemVer.- The
Project.tomlwill also include information about package dependencies, but more on that later.
The src directory requires one Julia file
named PracticePackage.jl
that defines a module named PracticePackage:
module PracticePackage

# Package code goes here.

end
So, the directory structure of the package looks like the following:
PracticePackage
├── Project.toml
└── src
    └── PracticePackage.jl
And that’s all there is to a package! (Well, at least minimally.)
Some Technicalities
Feel free to skip this section, but if you are curious about some technicalities for what comprises a valid package, read on.
- The
Project.tomlonly needs thenameanduuidfields for Julia to recognize the package. Without theversionfield, Julia treats the version asv0.0.0.- However, the
versionandauthorsfields are needed to register the package.
- However, the
- The name of the package root directory doesn’t matter,
meaning it doesn’t have to match the package name.
However, the
namefield inProject.tomldoes have to match the name of the module defined insrc/PracticePackage.jl, and the file name ofsrc/PracticePackage.jlalso has to match.- For example,
we could change the name of the package
by setting
name = "Oops"inProject.toml, renamingsrc/PracticePackage.jltosrc/Oops.jl, and definingmodule Oopsin that file. We would not have to rename the package root directory fromPracticePackagetoOops(though that would be a good idea to avoid confusion).
- For example,
we could change the name of the package
by setting
Automatically Generating Packages
The basic structure of a package is pretty simple, so there ought to be a way to automate it, right? (I mean, who wants to manually generate a UUID?) Good news: package creation can be automated!
Package generate Command
Julia comes with a generate package command built-in.
First, change directories
to where the package root directory should live,
then run generate in the Julia package prompt:
pkg> generate PracticePackage
This command creates the package root directory PracticePackage
and the Project.toml and src/PracticePackage.jl files.
Some notes:
- The
Project.tomlis pre-filled with the correct fields and values, including an automatically generated UUID. When I rangenerateon my computer, it also pre-filled theauthorsfield with my name and email from my~/.gitconfigfile. src/PracticePackage.jlis pre-filled with a definition for the modulePracticePackage. It also defines a functiongreetin the module, but typically you will replace that with your own code.
PkgTemplates.jl
The generate command works fine,
but it’s barebones.
For example,
if you are planning on hosting your package on GitHub,
you might want to include a GitHub Action
for continuous integration (CI),
so it would be nice
to automate the creation of the appropriate .yml file.
This is where PkgTemplates.jl comes in.
PkgTemplates.jl is a normal Julia package,
so install it as usual and run using PkgTemplates.
Then we can create our PracticePackage.jl:
t = Template(; dir = ".")
t("PracticePackage")
Running this code creates the package with the following directory structure:
PracticePackage
├── .git
│   ⋮
├── .github
│   ├── dependabot.yml
│   └── workflows
│       ├── CI.yml
│       ├── CompatHelper.yml
│       └── TagBot.yml
├── .gitignore
├── LICENSE
├── Manifest.toml
├── Project.toml
├── README.md
├── src
│   └── PracticePackage.jl
└── test
    └── runtests.jl
As you can see, PkgTemplates.jl automatically generates a lot of files that aid in following package development best practices, like adding CI and tests.
Note that many options
can be supplied to Template
to customize what files are generated.
See the PkgTemplates.jl docs for all the options.
Basic Package Development
Once your package is set up,
the next step is to actually add code.
Add the functions, types, constants, etc.
that your package needs
directly in the PracticePackage module in src/PracticePackage.jl,
or add additional files in the src directory
and include them in the module.
(See a previous blog post for more information about modules,
though note that using modules directly works slightly differently
than using packages.)
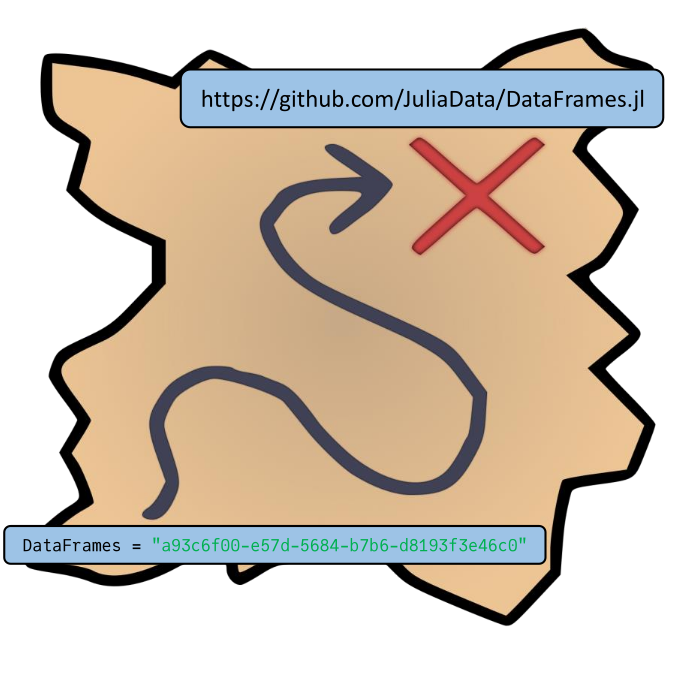
To add dependencies for your package to use, you will need to activate your project’s package environment and then add packages. For example, if you want your package to use the DataFrames.jl package, start Julia and navigate to your package root directory. Then, activate the package environment and add the package:
(@v1.X) pkg> activate .

(PracticePackage) pkg> add DataFrames
After this,
you will be able to include using DataFrames
in your package code
to enable the functionality provided by DataFrames.jl.
Adding packages after activating the package environment
edits the package’s Project.toml file.
It adds a [deps] section
that lists the added packages and their UUIDs.
In the example above,
adding DataFrames.jl
adds the following lines to the Project.toml file:
[deps]
DataFrames = "a93c6f00-e57d-5684-b7b6-d8193f3e46c0"
(And (PracticePackage) pkg> rm DataFrames would remove the DataFrames = ... line,
so it is best not to edit the [deps] section manually.)
Finally, to try out your package, activate your package environment (as above) and then load your package as usual:
julia> using PracticePackage # No need to `add PracticePackage` first.
Note that by default Julia will have to be restarted to reload any changes you make to your package code. If you want to avoid restarting Julia whenever you make changes, check out Revise.jl.
Publishing/Registering a Package
Once your package is in working order, it is natural to want to publish the package for others to use.
A package can be published by registering it in a package registry, which basically is a map that tells the Julia package manager where to find a package so it can be downloaded.
The General registry is the largest registry
as well as the default registry used by Julia;
most, if not all, of the most popular open-source packages
(DataFrames.jl, Plots.jl, StaticArrays.jl, ModelingToolkit.jl, etc.)
exist in General.
Once a package is registered in General,
it can be installed with pkg> add PracticePackage.
(Note that if registering a package is not desired for some reason,
a package can be added via URL, e.g.,
pkg> add https://github.com/username/PracticePackage.jl,
assuming the package is in a public git repository.
However,
the package manager has limited ability
to manage packages added in this way;
in particular,
managing package versions must be done manually.)
The most common way to register a package in General is to use Registrator.jl as a GitHub App. See the README for detailed instructions, but the process basically boils down to:
- Write/test package code.
- Update the
versionfield in theProject.toml(e.g., to"0.1.0"or"1.0.0"for the first registered version). - Add a comment with
@JuliaRegistrator registerto the latest commit that should be included in the registered version of the package.
Note that there are additional steps for preparing a package for publishing that we did not discuss in this post (such as specifying compatible versions of Julia and package dependencies). Refer to the General registry’s documentation and links therein for details.
Summary
In this post, we discussed creating Julia packages. We learned what comprises a package, how to automate package creation, and how to register a package in Julia’s General registry.
What package development tips do you have? Let us know in the comments below!
Now that you know how to create a Julia package, check out our next post to learn about package testing! Or, if you’re curious about how to conditionally extend package functionality, check out another post about package extensions!
Additional Links
- Official Package Creation Docs
- Official Julia documentation on creating packages.
- PkgTemplates.jl Docs
- Documentation for PkgTemplates.jl.
Project.tomlDocs- Documentation for the
Project.tomlfile.
- Documentation for the
- Julia General Registry
- GitHub repo (including README) for Julia’s General registry.
Cover image background provided by www.proflowers.com at https://www.flickr.com/photos/127365614@N08/16011252136.
Treasure map image source: https://openclipart.org/detail/299283/x-marks-the-spot